 |
| Looks great, doesn't it? |
 |
| It's too bad the back side wasn't so great. |
That taught me a lesson: you can't print a single-walled, ABS vase with 0.4 mm line width and 0.2 mm layers that is 500 mm tall. Between the cooling plastic shrinking and the weight of the print distorting its shape, the nozzle will eventually miss the previous layer and the print will fail.
I switched to a larger nozzle, adjusted the slicing parameters a bit and produced this:
 |
| This one made it all the way to 500 mm with only a couple minor issues. |
This was made using transparent ABS which looks like frosted glass when it prints, and transmits light very nicely. I used a 0.6 mm nozzle on the extruder, printed in 0.3 mm layers, 0.6 mm line widths, and printed with 3 shells/perimeters, all at 60 mm/sec. It's 500 mm tall, took about 39 hours to print and used 781 g of filament.
466 mm, on its way to 500 from Mark Rehorst on Vimeo.
I'm not sure why the slicer has the extruder going all over the place like that, so there may be more tweaking to do, but this one is definitely a success.
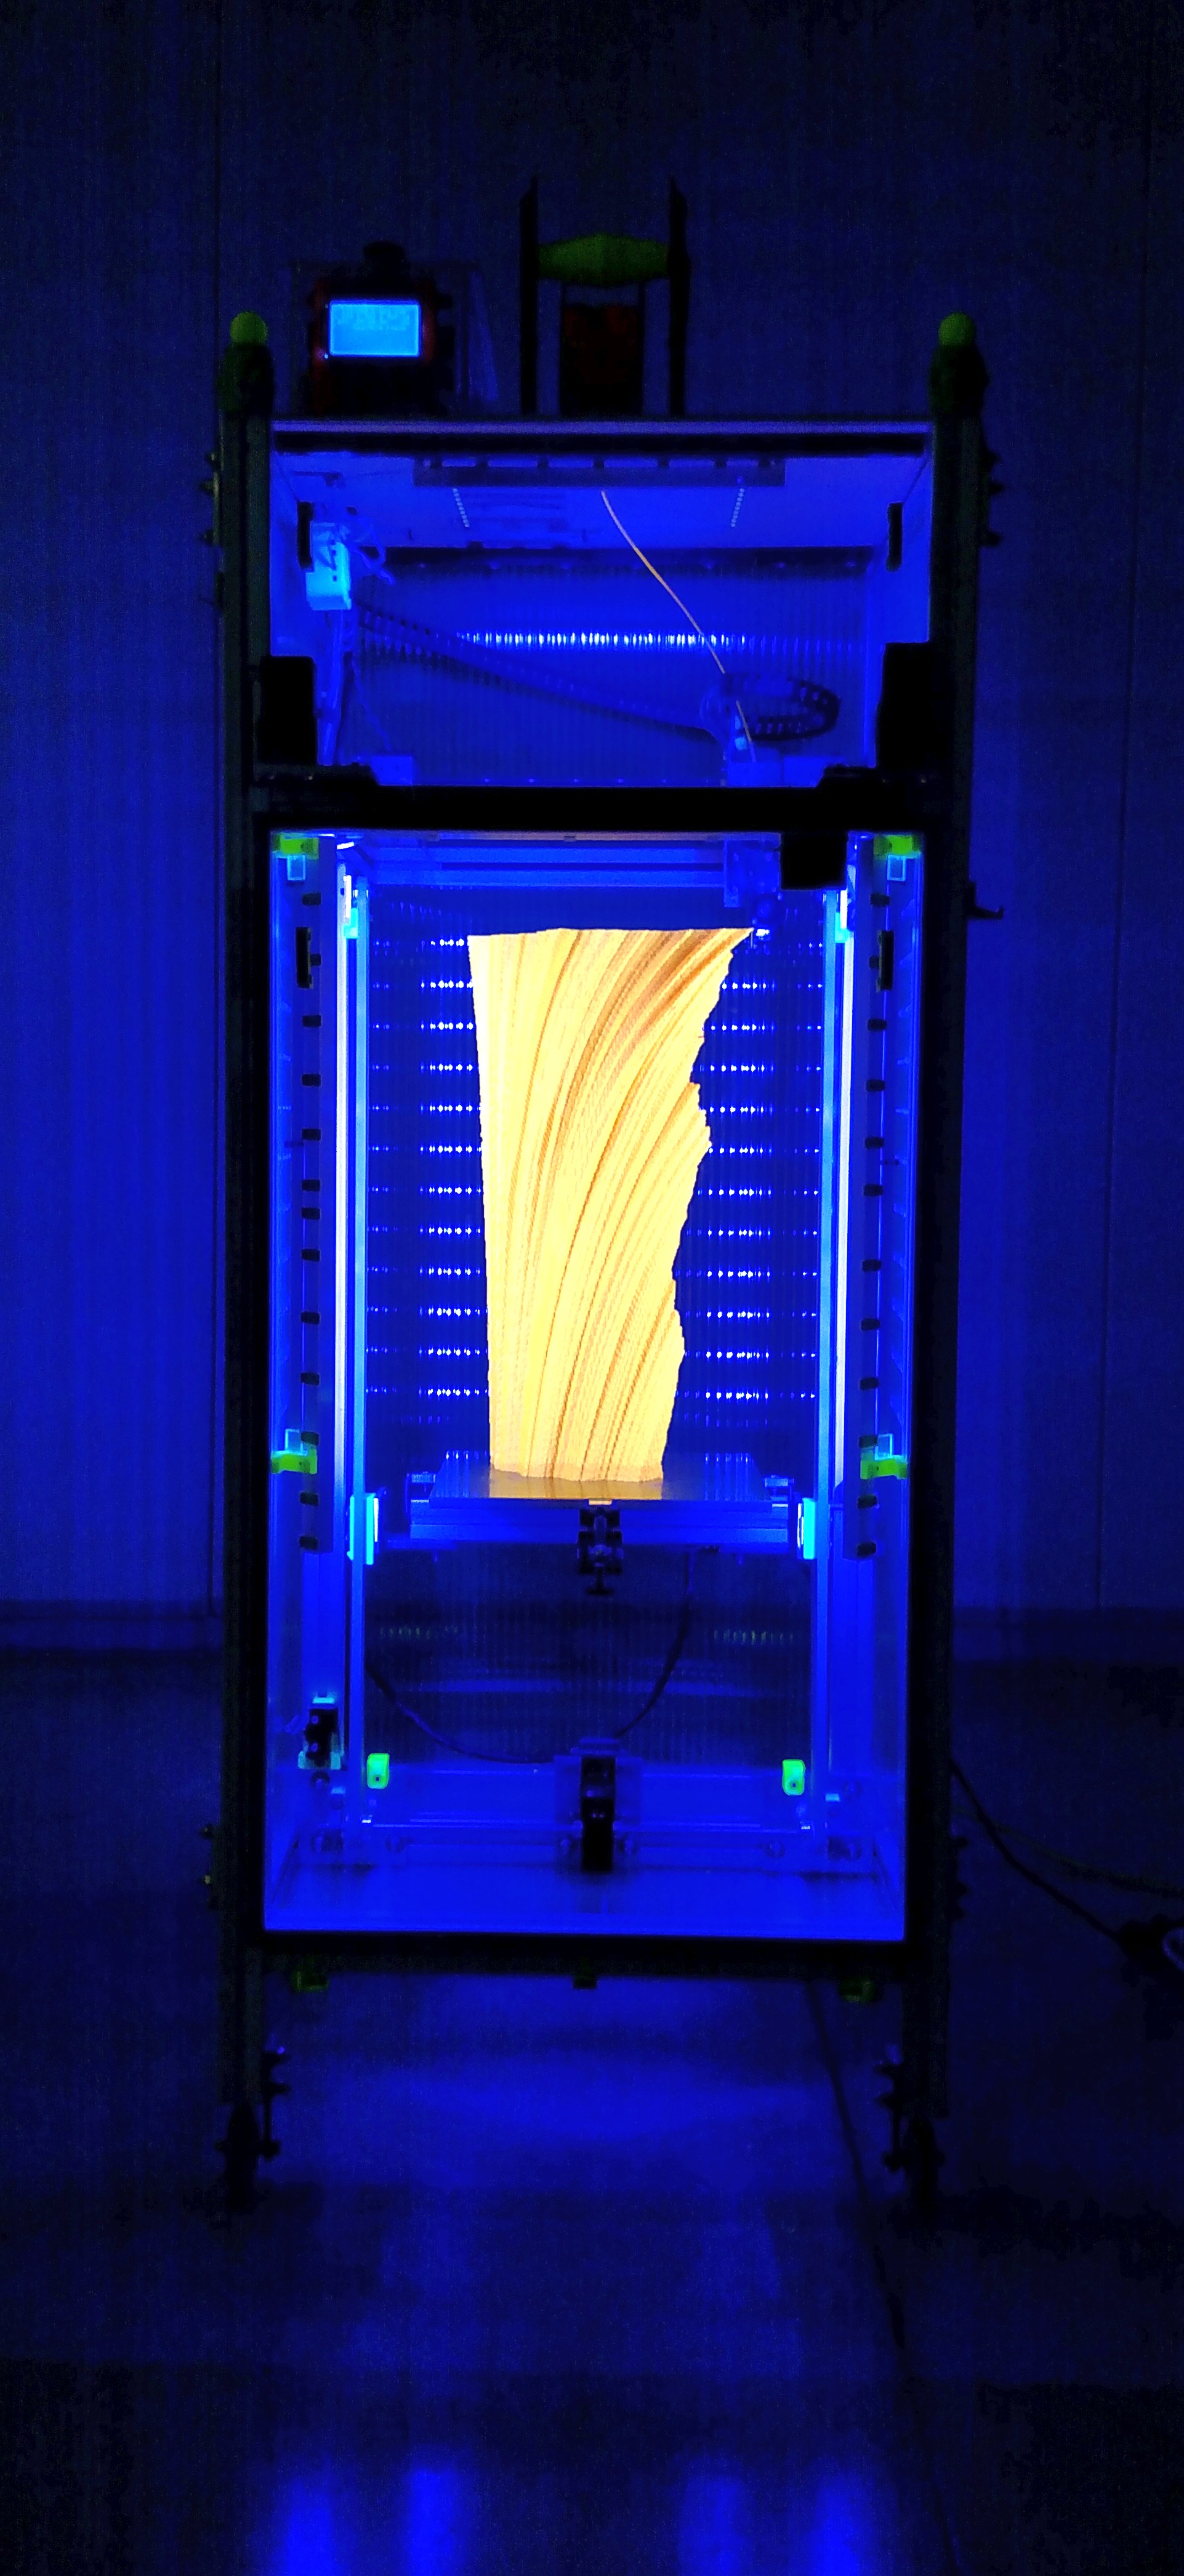
I still have to mount it on some sort of base, and add a light source, but here's what it looks like with an LED flashlight lighting it up from the inside:
 |
Unlike a single walled vase, this thing can be handled without worrying about it breaking apart.
When the vase was removed from the print bed, the bottom layer had a couple small cracks, possibly because the 95C bed temperature was a little higher than it should have been for almost 40 hours. I'll drop the bed temperature a little more for the next one.
There are a couple small layer separations on the back side which may have been because the temperature inside the printer was a bit too cool for ABS. ABS is usually OK with 45-50C but during this print the temperature in the enclosure was only about 38C. When I drop the bed temperature, it's going to be even cooler inside the enclosure, so I'll be adding a heater to make it a little warmer in there.
This could be printed with PLA and the layer separation issues would probably go away, but I have to make sure that the print is never subjected to heat, either from a light source or from being transported and left in a hot vehicle.
How I created the model
I started with a program called ChaosPro to generate a Julia set fractal. After tweaking the parameters for a while I found a shape that I liked, then created an image series that varied one of the parameters of the fractal over a specified range of values. That left me with 500 or so images.
Next, I opened ImageJ and used it to stack the images to make a solid object from them, then exported the STL file of that solid.
It's all explained in step by step detail here.
I liked the rough texture that resulted from the process, so I skipped the smoothing that the guy did using Blender.
I have tried to print this model using Slic3r's spiral vase mode but it seems to choke on the STL file (maybe the surface is too rough in some places and slic3r can't follow it) and does strange things that wreck the print. I've been using Cura to slice it, and Cura applies some sort of minor smoothing that leaves most of the rough texture intact but fixes the problems that trip Slic3r.
You could try decimating the geometry slightly in MeshLab prior to slicing. That may also solve the random and excessive moves you were seeing. Very cool method of making a sculpture.
ReplyDeleteI'll be giving that a try. I've played with Meshlab before, and though it looks promising, its UI is a bit tricky to master.
ReplyDelete